Device Enrollment
Enrolling your ChromeOS device is a critical step in the setup process. This ensures that your device is securely configured to run the kiosk application and communicate with the Lumen Insight platform. It also allows you to manage the device remotely, including updating the kiosk application and monitoring its status.
ChromeBox Setup
Section titled “ChromeBox Setup”The ChromeBox device is very easy to set up. All you need to do is enter your wifi information or connect an ethernet cable (recommended), and then sign in with the provided credentials.
-
On the welcome screen, select
Get started.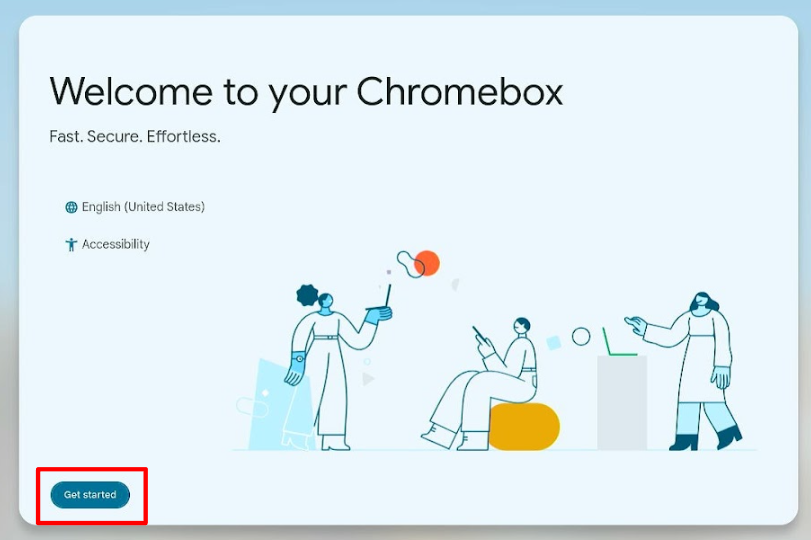
-
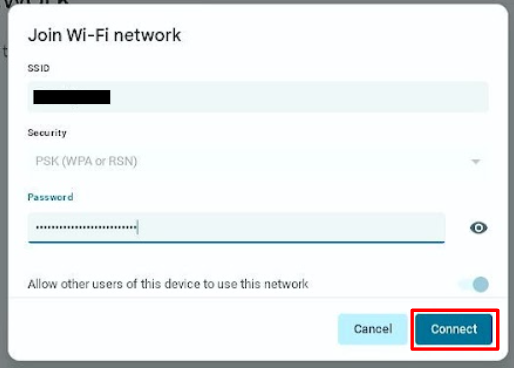
Select your WIFI network from the list, enter the password, and click
Connect. If you are using Ethernet, make sure the cable is connected to either the monitor’s Ethernet port or the Chromebox.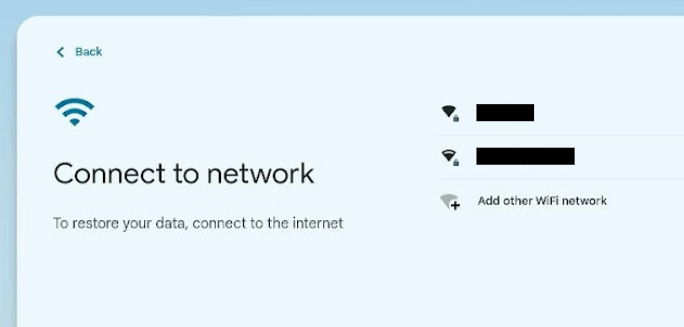
-
You should now see a screen asking you to “Choose your device’s setup”. DO NOT sign in here. Please click the
Device Enrollmentbutton in the lower left corner. If you do not see this button, your device may not be supported.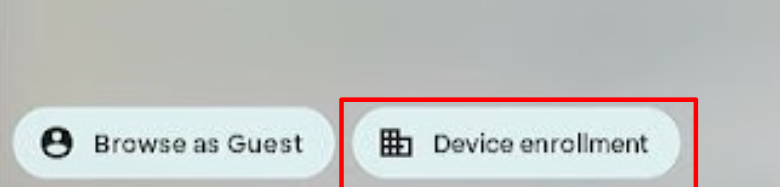
-
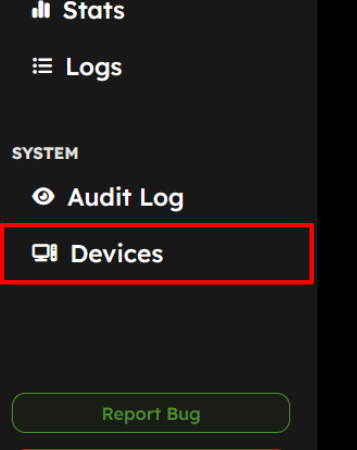
Navigate to the Devices page in your admin dashboard.
-
Click
Setup New Deviceand thenManaged ChromeOS Device. -
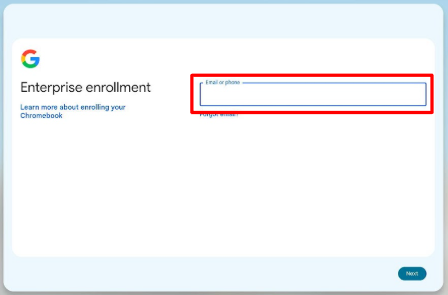
Enter the email address and password provided to you in your dashboard.
-
Click the
Enroll kiosk or signage devicebutton. -
The next screen should say “Confirm kiosk and signage device enrollment.” Please click
Confirm. -
Your device should now self provision, and eventually show a success screen. Click
Done. -
Finish the setup process in your admin dashboard.
-
Your device will restart automatically and present your new kiosk! If nothing happens after a few moments, try power-cycling the device.