Hardware Setup
These instructions will guide you through the setup and installation of a basic kiosk. This guide assumes you are using the recommended hardware. If you are not, please refer to the manufacturer’s instructions for your specific hardware.
Recommended Hardware
Monitor Assembly
Refer to the paper included with the monitor and this video to help with the assembly.
- Completely unpack the monitor, removing all plastic and packaging.
- Insert the arm part of the stand into the back of the monitor.
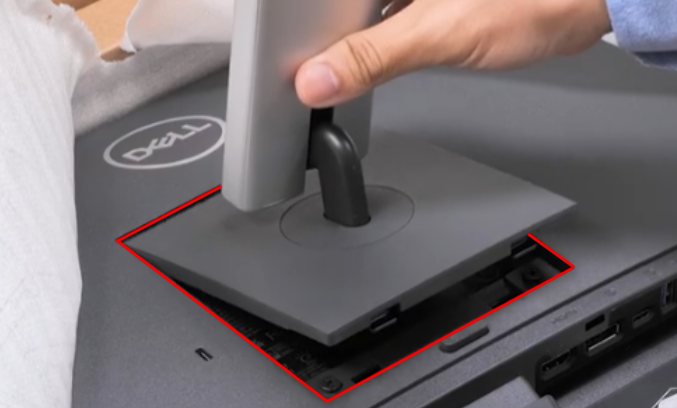
- Insert the base of the stand into the arm.
- Finger tighten the knob to secure.
Connections
IEC Power Cable
- Locate the IEC power cable included with the monitor.
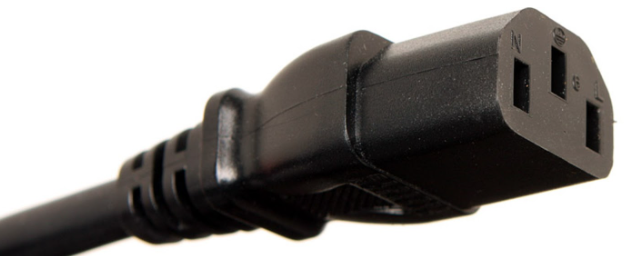
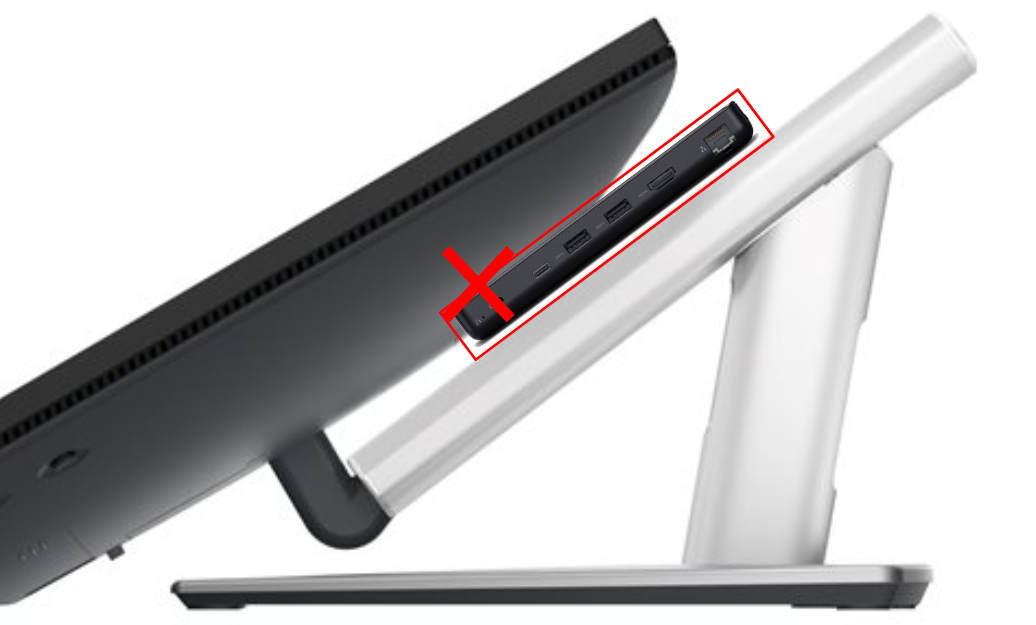
- Insert it through the cutout in the monitor stand.
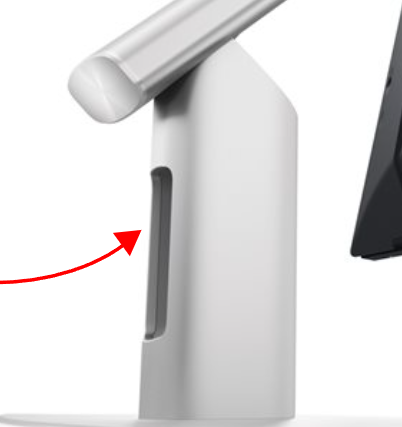
- Route it through the cable clip on the bottom of the monitor.
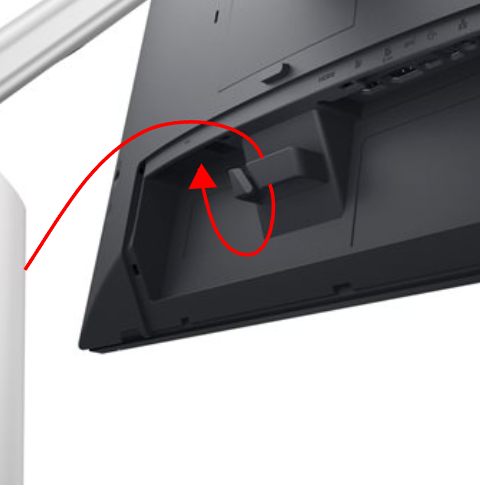
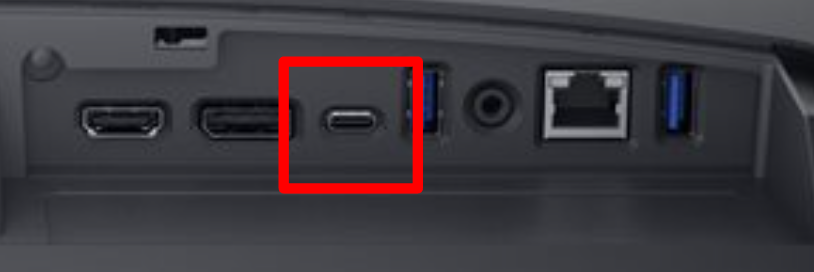
- Connect it to the corresponding port.
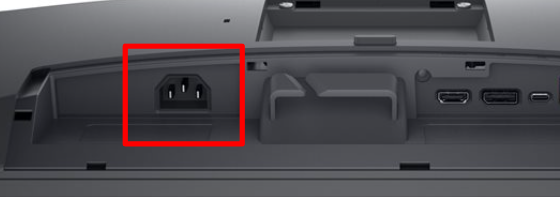
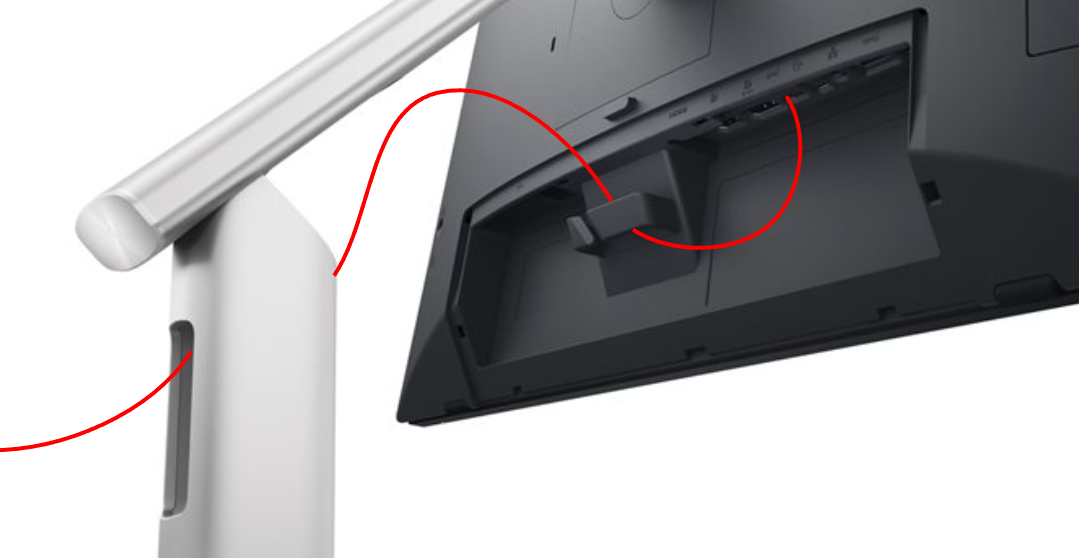
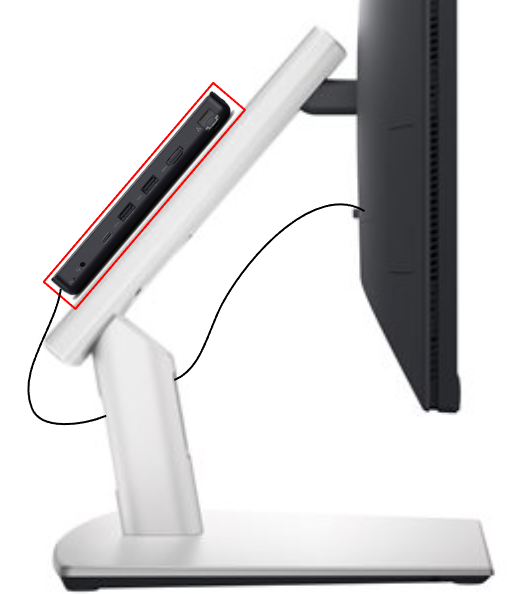
- Once connected, it should look like this:
USB C Cable
- Locate the USB C cable included with the monitor.
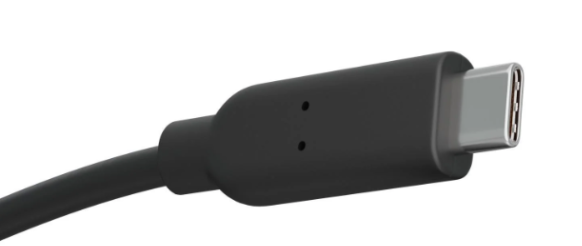
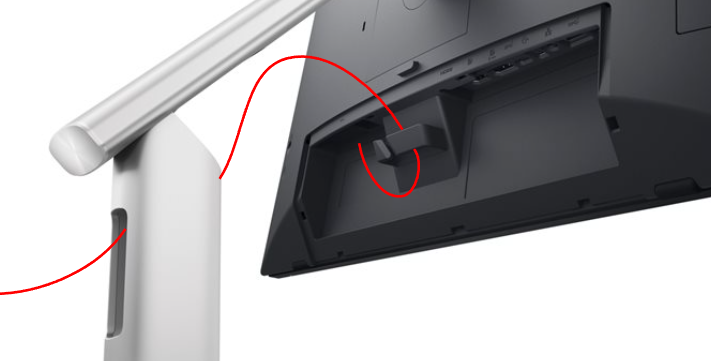
- Using the previously described routing, connect the cable to the corresponding port under the monitor.
- The finished route should look like this:
Additional Peripherals
Any additional devices such as keyboard, barcode scanner, or mouse can be connected in the same way.
- Locate their USB A cables.
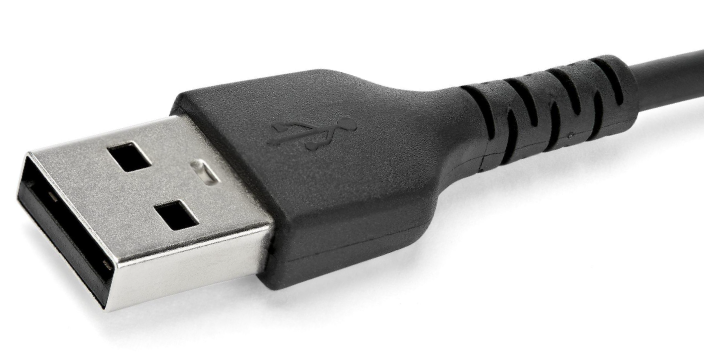
- Using the previously described routing, connect the cable to the corresponding port under the monitor. Either of the USB A ports can be used.
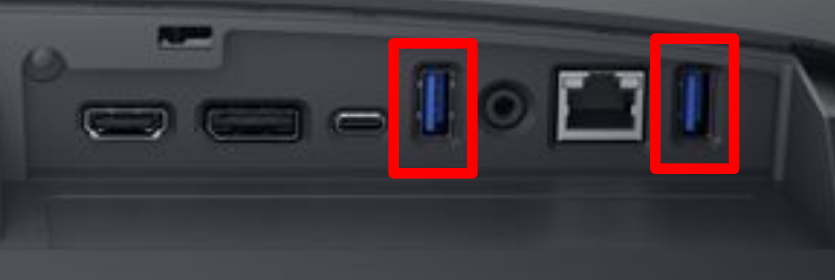
- If you need access to more USB A ports, you can use the ones on the Chromebox device.

Chromebox Connections & Mounting
The Chromebox device only needs a single USB C connection to function. The HDMI port is not used in this setup, but can be if you are using a different monitor. Additionally, the monitor provides power to the Chromebox via the USB C cable. The power adapter was included for other setups but is not needed when using the recommended Dell monitor.
- Locate the other end of the USB C cable you previously connected to the monitor.
- Connect it to either of the USB C ports on the Chromebox.

- The suggested mounting location for the chromebox is on the top of the monitor stand.
- The device can be secured using double sided 3M Tape or Velcro (Recommended). Please ensure you leave enough room above the device for the monitor to tilt.
Power Up
-
Connect the monitor’s power cable to an outlet.
-
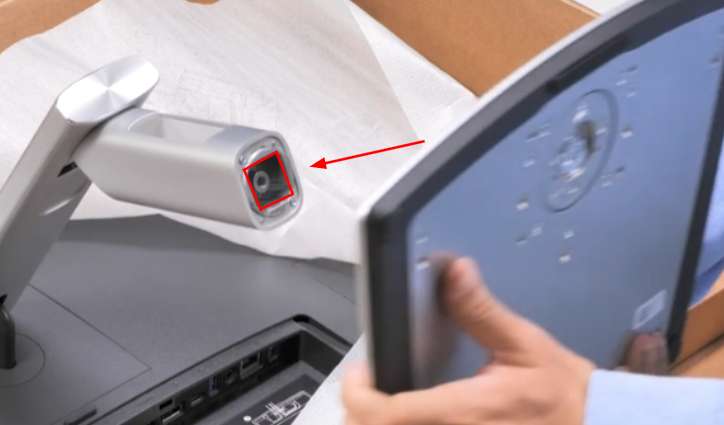
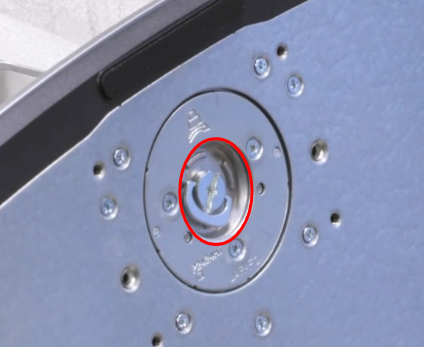
Press the power button on the right side behind the monitor to turn it on.
-
After a few seconds the device should boot into ChromeOS.